Monday, July 29, 2013

Quilts of Valor, Quilt 2

Hi Everyone, I hope your week is off to a great start!  A little housekeeping first, you'll notice on the left hand side instead of Google Reader we now have two new ways for you to follow our blog - since Google Reader is no longer operating :( The first is Google+ and the other is BlogLovin'  Be sure to add yourself so you don't miss anything!  I have "Learn Google+ on my 'To Do' list this week" BUT I do already add new blog posts to my timeline!  So, I figure I'm one step in the right direction, or at least that's what I tell myself ;)  How many of you have tried Google+? What are your thoughts?  It seems like there isn't a day that goes by that there isn't something new in the world of social media!

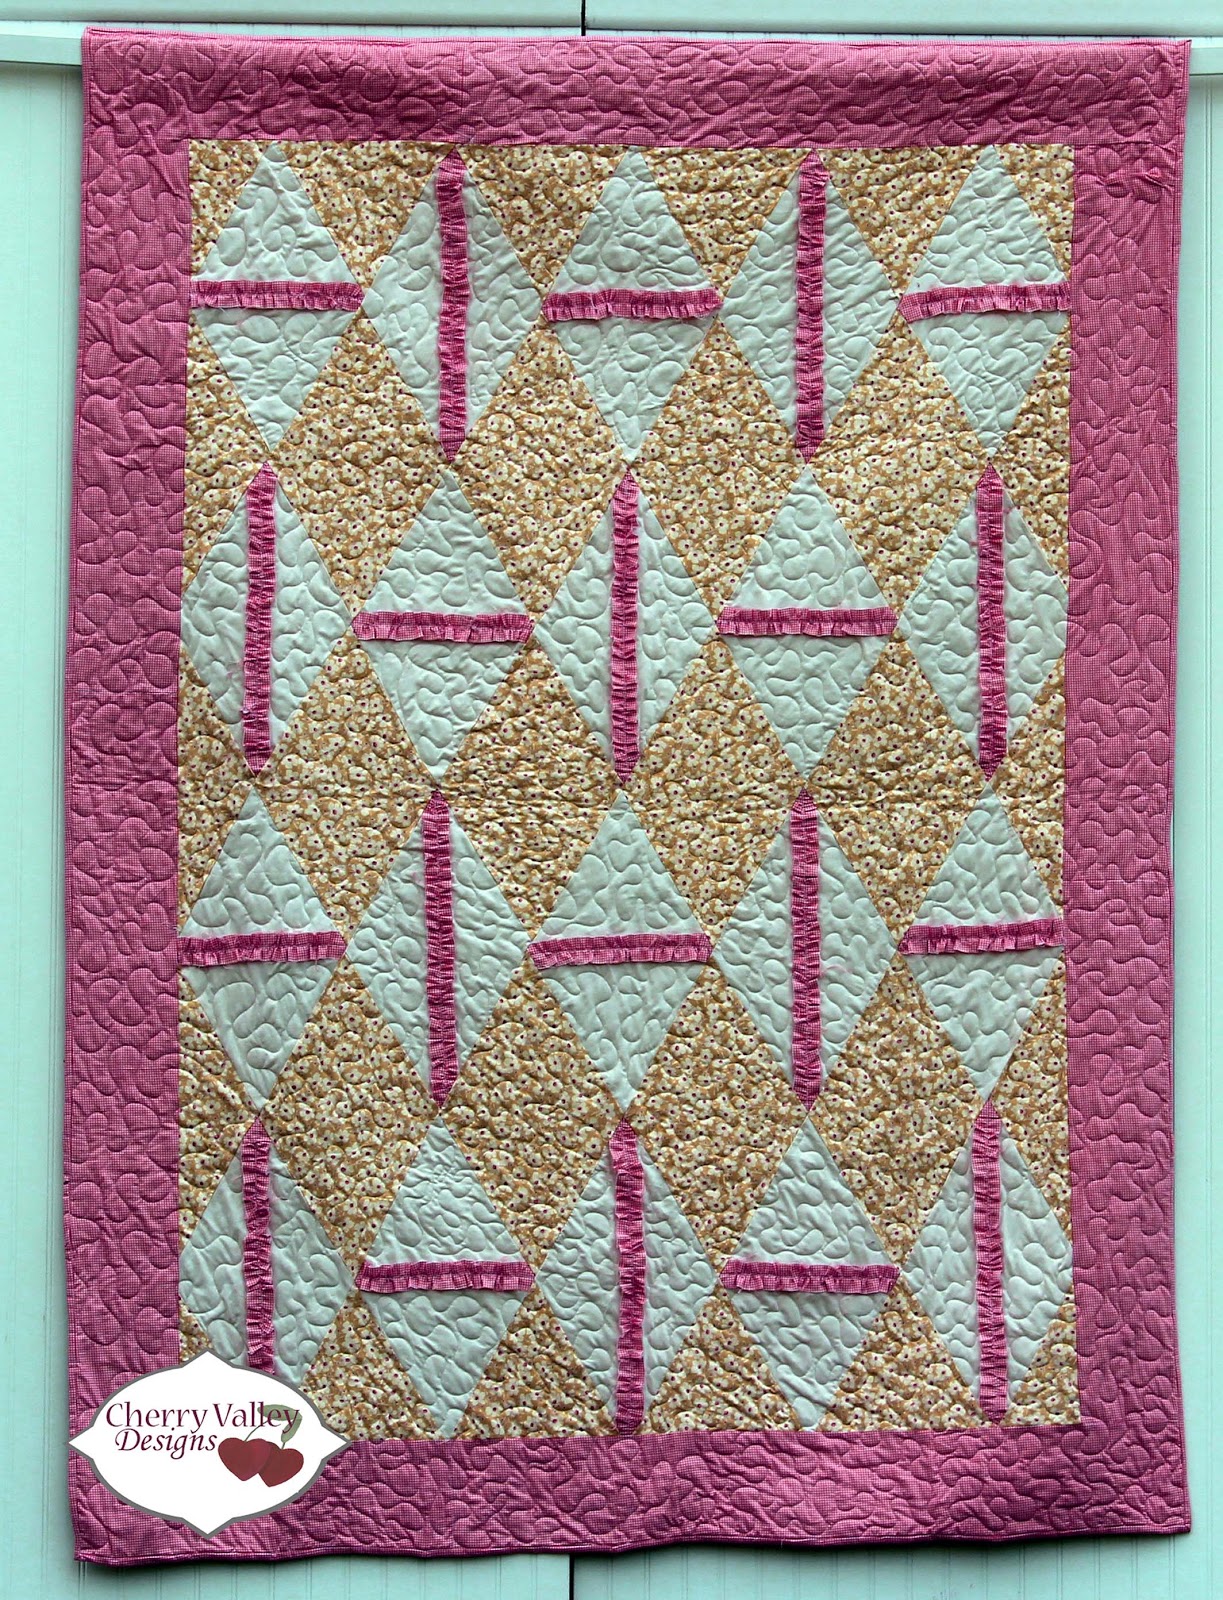
Moving on I thought I'd share another quilt I worked on for Quilts of Valor.  This quilt was done for the same guild and again was made using scrap materials from donated stashes ... what a great way to use those fabrics when we're "cleaning shop."  For this quilt, I just did an overall swirl design with outlined stars interspersed.  I probably would do tighter swirls on other projects and use them more as a filler, but I wanted this quilt to be comfy and not stiff from having used a tight design.  The sizing and spacing worked out perfectly and gave me a chance to practice my swirls!

Cherry Valley Designs Quilts of Valor

Cherry Valley Designs Quilts of Valor

Cherry Valley Designs Quilts of Valor


Until next time!

Megan

Friday, July 26, 2013

Christmas in July!


Happy Friday Everybody!  Fall is quickly approaching and what does that mean?  New patterns and products!  Help us clean out some space to get ready.

Now through Tuesday (July 30) receive 50% off your ENTIRE purchase when you enter the code JULY2013 at checkout! Click here to begin shopping!

Onto Finished Friday ... At the beginning of July I signed up as a Quilts of Valor volunteer longarm quilter.  I was quickly connected with someone living in the same town as me.  Funny thing is that she also used to work with my parents, what a small world!  She said the closest person she had ever quilt for her was about an hour and a half away.  Well, no more!  She gave me two quilts that her quilt guild worked on putting together.

They are scrappy quilts and were a lot of fun to work on and practice some new designs, mainly the echoed feather border.  I have been terrified of echoing, but it ended up not being so bad.  You'll also notice that I put little stars scattered throughout the feathers just for fun.

Less talk, more pictures ...

Cherry Valley Designs Quilts of Valor

Cherry Valley Designs Quilts of Valor

Cherry Valley Designs Quilts of Valor

I finished up the second quilt last night, but haven't had a chance to photograph it.  That will be a post for next week.  Thanks Judy for letting me quilt your quilts!

Special shout out of thanks to the linky parties today: Finish It Up Friday; Can I Get a Whoop Whoop?; Thank Goodness it's Finished Friday.

Have a wonderful weekend!

Friday, July 19, 2013

Finish It Up Friday + Binding Tutorial

Happy Friday Everybody!  Today I wanted to show you the finished quilt from last week's "Life's A Charm" series.  You can click here to read more.

Cherry Valley Designs Binding Tutorial

I did an easy all over block design on this quilt which was a lot of fun, it was a new design for me and it doesn't take away from the busyness of the quilt.  However, for the binding I wanted to try a new technique I learned a couple of weeks ago and thought I'd pass the tutorial on to all of you.  I learned about this a few weeks ago at a machine quilting guild I belong to.  With this technique, you put the entire binding on by machine.  While I'm sure many of you know about this, for those of you who don't I hope this helps a bit.

First, make your binding the way you normally would.  Mine is 2 1/2" wide and I fold it in half and then press.  A little trick is to use an old coffee can and put it in while you're ironing, that way it doesn't fall all over the floor and you can just pull it out easily as you're stitching it down.  This has been a lifesaver for me.

Cherry Valley Designs Binding Tutorial

Once your binding is prepared, attach your binding like you normally would with the raw edge of the binding matched to the raw edge of the quilt, but make sure you sew it to the back of the quilt.

Cherry Valley Designs Binding Tutorial

Then ... you need to cut off the excess at the beginning and end of your binding on the diagonal and do the final sew down.

Cherry Valley Designs Binding Tutorial

A tip of mine is to take a picture of positioning the ends correctly, taking a picture, printing it and keeping it at my sewing machine.  This way, when it's time to do this, you have an easy reference.  I was always getting mixed up and ended up twisting all my ends every which way.  Now I have a nice visual to clue me in ... no more frustrations!

Cherry Valley Designs Binding Tutorial

Finally, pull the front of your binding around to the front (make sure your top thread matches your binding!) and stitch down with the blind stitch.

Cherry Valley Designs Binding Tutorial

This was the first time I've tried it myself and it went pretty smoothly with the exception that my machine doesn't allow a stitch to have a mirror image.  So when I used the blind hem stitch I had to push the whole body of my quilt into the machine so the stitch was facing the right way.

Special shout out of thanks to the linky parties today: Finish It Up Friday; Can I Get a Whoop Whoop?; Thank Goodness it's Finished Friday.

Have a Wonderful Weekend!

Megan

Wednesday, July 10, 2013

July: Life's A Charm - "X" Marks the Spot

Hi Everybody! For all of our US friends, we hope you had a wonderful 4th of July weekend.  This would be the reason why we're a little late in getting our Life's a Charm out, along with the fact that I've been sick the past few days and have been operating at a slower speed.  Did you do anything fun to celebrate?  We visited Gettysburg and I cooked a big meal for our family - marinated and grilled chicken; cole slaw; potato salad; and of course, homemade cherry pie!  It was so much fun to cook a big meal like that, I don't get to do that nearly enough!

For this month's Life's a Charm we decided to make a quilt (imagine that! ... our first for "Life's a Charm"), something easy that could come together in a snap.  We've had 16 fat quarters of 30's reproduction fabric sitting around in our stash for a long time and decided it was high time to do something with it.  So, I cut it up into 5" charm squares and got 192 squares.  We ended up using most of these squares for this lap quilt.

For those of you making charm squares out of a fat quarter, it is very easy to do.  You will be able to get 3 rows vertically and 4 rows horizontally giving you 12 charm squares.

Here's how it goes ...

"X" Marks the Spot
Finished Size: 50" x 50"

Cherry Valley Designs Hourglass Quilt

Materials:
- 4 color scraps of material for 162 - 5" squares (this would be equivalent to 5 charm packs);
- 56" x 56" piece of batting;
- 56" x 56" piece of backing fabric;
- 220" of binding;
- A 6 1/2" x 24 1/2" ruler (for cutting your 5" squares out) - I prefer Creative Grids;
- A 2 1/2" x 12 1/2" ruler - again, Creative Grids; and
- A 6 1/2" square ruler - of course, Creative Grids;
- Your favorite rotary cutter, cutting mat, sewing machine, iron and ironing board!

Step 1: 
Separate your color scraps and make two groups of two.  So, I put purple and blue together (group 1) and pink and green together (group 2).

Cherry Valley Designs Hourglass Quilt

Step 2:
Chain piece your squares together, right sides facing, and sew a quarter inch seam allowance down one side of all your pieces.  Next, sew a quarter inch seam allowance on the opposite side.  Yes, that's right, just trust me on this one ;)

Cherry Valley Designs Hourglass Quilt

Cherry Valley Designs Hourglass Quilt

Step 3:
Using your 2 1/2" x 6 1/2" ruler, cut each square on the diagonal and iron the seam flat.
Cherry Valley Designs Hourglass Quilt

Cherry Valley Designs Hourglass Quilt

Cherry Valley Designs Hourglass Quilt

Step 4:
Pin your pieces back together, lining up your center point to create an hourglass block and sew together.  Your will need 49 blocks of your first group and 32 blocks of your second group.

Cherry Valley Designs Hourglass Quilt

Cherry Valley Designs Hourglass Quilt

Step 5:
Using your 6 1/2" square ruler, proof your blocks to 6" x 6" squares.

Cherry Valley Designs Hourglass Quilt

Cherry Valley Designs Hourglass Quilt

Cherry Valley Designs Hourglass Quilt

Step 6: 
Iron your seams flat.  Lay your quilt out starting with one color in the center and lay the alternate color around the center block.  Keep alternating colors (around the world) until you have a 9 block x 9 block quilt.  Sew your rows together.  Your quilt top is complete!

I can't wait to get it on the longarm and get it quilted!  Check back next week for how we quilted this and bound this quilt! ... There may even be a tutorial involved!

Until next time!

Megan

Friday, June 21, 2013

Summer Reading

Happy First Day of Summer!

How's summer starting out for all of you?  I don't think there's one season I love over another, but summer comes pretty darn close to being at the top for me!  I just love the laziness of summer, the casualness of cool nights spent on the deck, get togethers with family and friends, and afterall who doesn't love a season bookended (is that a word?!) with holidays?  Another thing I love is the image in my head of spending time at the beach with nothing better to do than get caught up on my reading ... definitely an image, because I haven't done this in forever!  So for all of you summer lovers out there who are looking for a good book to read my mom, Penny, has put together a list of some of her recent favorite titles.  I lean towards the romantic side (yes, I am a hopeless romantic, emphasis on the hopeless part!), but my mom loves mysteries ... always has and probably always will!  Anyway, I'm handing the blog over to her ... Here you go!

With those crazy, lazy days of summer finally here, what better time to not only quilt but also read.  Reading is another one of our favorite pastimes!  Megan enjoys historical romances by Deborah Holland.  She also enjoys reading Debbie Macomber and Brenda Novak books as well.

While I enjoy reading Debbie Macomber’s books, I really enjoy books by David Baldacci (did you know that the characters, King and Maxwell on TNT at 10:00 on Mondays this summer are from a number of his books?), Lisa Scottoline (so far, my favorite has been The Vendetta Defense... the story line is interesting and the characters actually make you laugh out loud at times with their shenanigans. But, my all-time favorite author is … Dorothea Benton Frank! She writes a novel once a year, usually it is published each June and they are all packed with human interest, laugh out loud humor along with interesting tidbits. Last year’s novel, Porch Lights, was focused on interesting information about Edgar Allen Poe.   This year’s novel is entitled The Last Original Wife: A Novel.


Another genre of books that Megan and I enjoy are cookbooks. We enjoy reading/looking through all of the cookbooks we have. Our latest find is The Smitten Kitchen cookbook by Deb Perelman. The writing is phenomenal, pictures scrumptious and recipes make you want to jump up and cook immediately! Best of all the book lays flat which is great when trying to follow a recipe!


What books or authors do you enjoy reading?  It would be great to have you share! ... Penny

Friday, June 7, 2013

Playing Around With Colors

Believe it or not I would definitely consider myself a novice when it comes to the Adobe suite of products.  Back in November I faced the stark realization that I needed to make "the switch."  Thankfully though, Adobe now has a service called Adobe Creative Cloud.  It is, in a word, awesome! I was hesitant at first, but not having the $1,000+ to throw down on Photoshop, Illustrator, and InDesign, I decided to give the Creative Cloud, a shot and I am so glad I did.  I specialized in Information Systems with my business degree, so I'm pretty comfortable with the computer.  I was also the "queen of handouts" (an honor bestowed upon me by my supervisor, complete with a certificate ... lol) when I was a college math tutor, so I was comfortable making graphics and writing directions.  What is the Creative Cloud?  You pay for it monthly and it houses pretty much the entire suite of Adobe products and then you can download the programs you need ... as many as you need!  To me, $50 a month was much more reasonable than the upfront cost of the standalone Adobe products.  The other huge upside is you don't have to worry about product upgrades and having to pay for those as well.  The upgrades with Creative Cloud run seamlessly through your product and when one arrives, you're simply notified - it all is included with your subscription cost.  Oh, and you're getting the professional grade of the Adobe products!

That turned out to be a lot more information than I was planning on saying, but if you are in need of Adobe products I would definitely recommend looking into this and seeing if this would be a good fit for you.

Like I said, I'm still definitely a novice.  I do a lot of trial and error.  The worst is when I get something right and I have no clue how I did it!  Grrrr ... does that ever happen to you?  Well, I won't forget this little trick.  Last night, I was working on proofing some new pictures and I stumbled upon this photo alteration trick.

Do you remember our pattern Diamonds are a Girl's Best Friend that I debuted in the spring?  It's a pretty peach and spring green ...


... But look what happens when you change the "hue" using Photoshop?  Oh, the color combinations!

Option #1: Aqua and Purple


Option #2: Two-Toned Green

Option #3: Two-Toned Purple


Option #4: Blue and Green

Option #5: Pink and Peach (My fave!) 

Option #6: Purple and Pink

What's your favorite "new" color combination?  We'd love to hear!

Have a wonderful weekend!
Megan
Wednesday, June 5, 2013

Life's a Charm June: Fun Notebook Cover

This project is so incredibly easy ...  it comes together in a snap, literally a few hours!  I think sometimes it's nice to have a mindless project to just make you feel you accomplished something, at least this is true for me!

This month we simply sewed together 40 mini charms into an 8 by 5 rectangle to create a notebook cover.  How simple is that!  I can so see these for the beginning of school or baby shower gifts for moms-to-be to chronicle their months or just a fun way to scrapbook your family's summer adventures!


You will simply need a Mead notebook, a mini charm pack, an iron, and your sewing machine - mine broke during this project :( so don't look to closely at my stitching ;)


We cut out red, white and blue fabric from our own stash and then simply sew 8 blocks across horizontally and 5 blocks vertically.


Then fold under twice 1/8", press down and stitch a straight line to hold your edge down.


Once this is complete, simply use your notebook as a template.  Iron down the top and bottom, then the sides.  Pin the sides down and using a zigzag stitch, stitch along the entire top and bottom at the edge of the cover.


Enjoy!
Megan
Related Posts Plugin for WordPress, Blogger...
Pin It button on image hover