
Welcome to Day 1 of "The Six Days of Comfort & Joy"!

Our Front Door, Welcome!

We made this wreath using a variety of similar-themed ornaments from one of our favorite stores, The Old Crow, located here in Newark, Ohio. If you are ever in the area or live close by, you should seriously stop by! This place is loaded with inspiration, but I will warn you, take your checkbook :) The owner does an A-M-A-Z-I-N-G job with the decorations! We have several decorations from their store throughout our house.
We also have a breezeway and this is the door we like to put our garland over since it has a little covering and will be protected from whatever weather may come our way.

This garland is Project #1. Here's what you will need:
- A garland (We got ours at The Old Crow. We used a 9 foot garland, because we didn't want it going all the way down either side of the door, you may need a longer one depending on the look you're going for and the perimeter of your door.)
- A half yard of burlap, cut into 3" strips (We got ours at JoAnn's.)
- At least 5 floral candle wrappers, these provide a denser look on the garland and the backs are flat so you don't have to worry about what to do with the stems. (We got these at The Old Crow.)
- A Bunch of Bells in a variety of colors (We got ours at Michaels)
- Floral Wire - This is seriously my new favorite craft tool! (Again, Michaels)
- Floral Wire Cutters (Michaels)
- Hot Glue Gun and Glue
Step 2: Weave the floral wire down each side of the burlap strips, so the burlap is malleable.
Step 3: Using floral wire (again! see why I love this stuff, you can use it with so much!), put bells through wire and then in the center of the burlap, twist on back side of burlap. We made 4 of these burlap "ribbons" and 2 burlap "ribbon" ends - 1 for each side of the end of the garland.
Step 4: Tie the burlap ribbons in between the floral bouquets. Using the wire to mold and glue to adhere, place ribbons decoratively throughout. Your garland is ready to hang!! You will need cup screws to attach around door.
Next stop, Our Breezeway
The door to our garage has this fun bucket hanging on it. The ornaments are Santas from around the world, we got them last year at Hallmark.


This is what you seen when you first walk in our breezeway:

 |
| I made this using ribbon, 5 ornaments and attached the ornaments using what else(?), but floral wire! I then tied them around the knob of the cabinet. |
Wow! What a little paint will do ... this cabinet used to be a peeling, icky grey. (I took pictures, but no matter where I look I can't find them! Darn!) This summer we decided this cabinet needed a makeover. We've had it since we moved my grandma out of her house 20 years ago (eek!). We are in love with its new look and to complement it, we decided it needed a new lamp.

Notice the wallhanging??!! It's the Flashy ornament from our Flashy, Dazzle & Sparkle pillow patterns. We simply left the pillow front alone, put a backing on it, quilted and bound it! Voila, you suddenly have a wallhanging!
The lamp is Project #2. Here's what you will need:
- A lamp base and white lamp shade. (Ours is this one from Target.)
- 32" by 9" piece of Linen (We got our linen at the awesome shop, Sew to Speak, they have an online store, too, but they're physical store location is in Columbus, Ohio.)
- Spray glue
- Hot Glue Gun and Glue
- Sewing Machine and thread
- Pre-made Bow (We got ours at Michaels)
- Roll of Ribbon (Michaels, again)
- Metallic spray paint, we chose a bronze finish
Step 2: Fold a 1/4" of linen over and press down on one of the short sides (9") of the linen. Using a zig zag stitch, stitch fold down. This is your "finished" side that will face out on the lampshade.
Step 3: Using a glue gun, adhere unfinished short side of linen down on lampshade.
Step 4: With newspapers underneath your workspace, use spray glue and roll your linen piece on the lampshade. Finish with the glue gun and adhere "finished" end of linen piece over unfinished side.
Step 5: Using a glue gun, adhere top and bottom of linen around the inside of the lampshade so, your lampshade is finished.
Step 6: Wrap a piece of ribbon around the lampshade and simply tie at the end (this will face the back of your lamp), make sure the ribbon is rather taught, but not enough to squeeze the lampshade.
Step 7: Finish by tying pre-made bow around the ribbon that you used in Step 6. You're done, enjoy!

Our Dining Room, Home to the Nutcracker Tree

I love nutcrackers and this white tree, while a bit unexpected, showcases our collection of nutcracker ornaments perfectly. We use white lights with white wire to make it glow and glued a sequined red star as it top.

The tree is finished with this fun fabric we found several years ago which is adorned in what else, but nutcrackers! To make this super simple tree skirt, simply cut out an oversized rectangle with pinking sheers (so your fabric won't fray) and voila, you're done! It doesn't get any easier than that.
Even our Bathroom has Some Bling!

 |
| These little presents are on top of our cabinets! |
All decorations are from Pier 1 (last year, I don't know if they still have these exact items).
On the Pie Safe in Our Kitchen ...


This cute little tree with the beautiful "tree skirt" my mom designed and made ... watch for this pattern's debut this Spring!! The Santa was made by a local artisan several years ago, sorry but we have no other information.
Our Family Room
The Bookcase


The candle we simply tied with the same ribbon we used on the lamp from our breezeway and added one of our ornaments. The top shelf is adorned with fresh greens and our collection of white pitchers.
The Entry Table
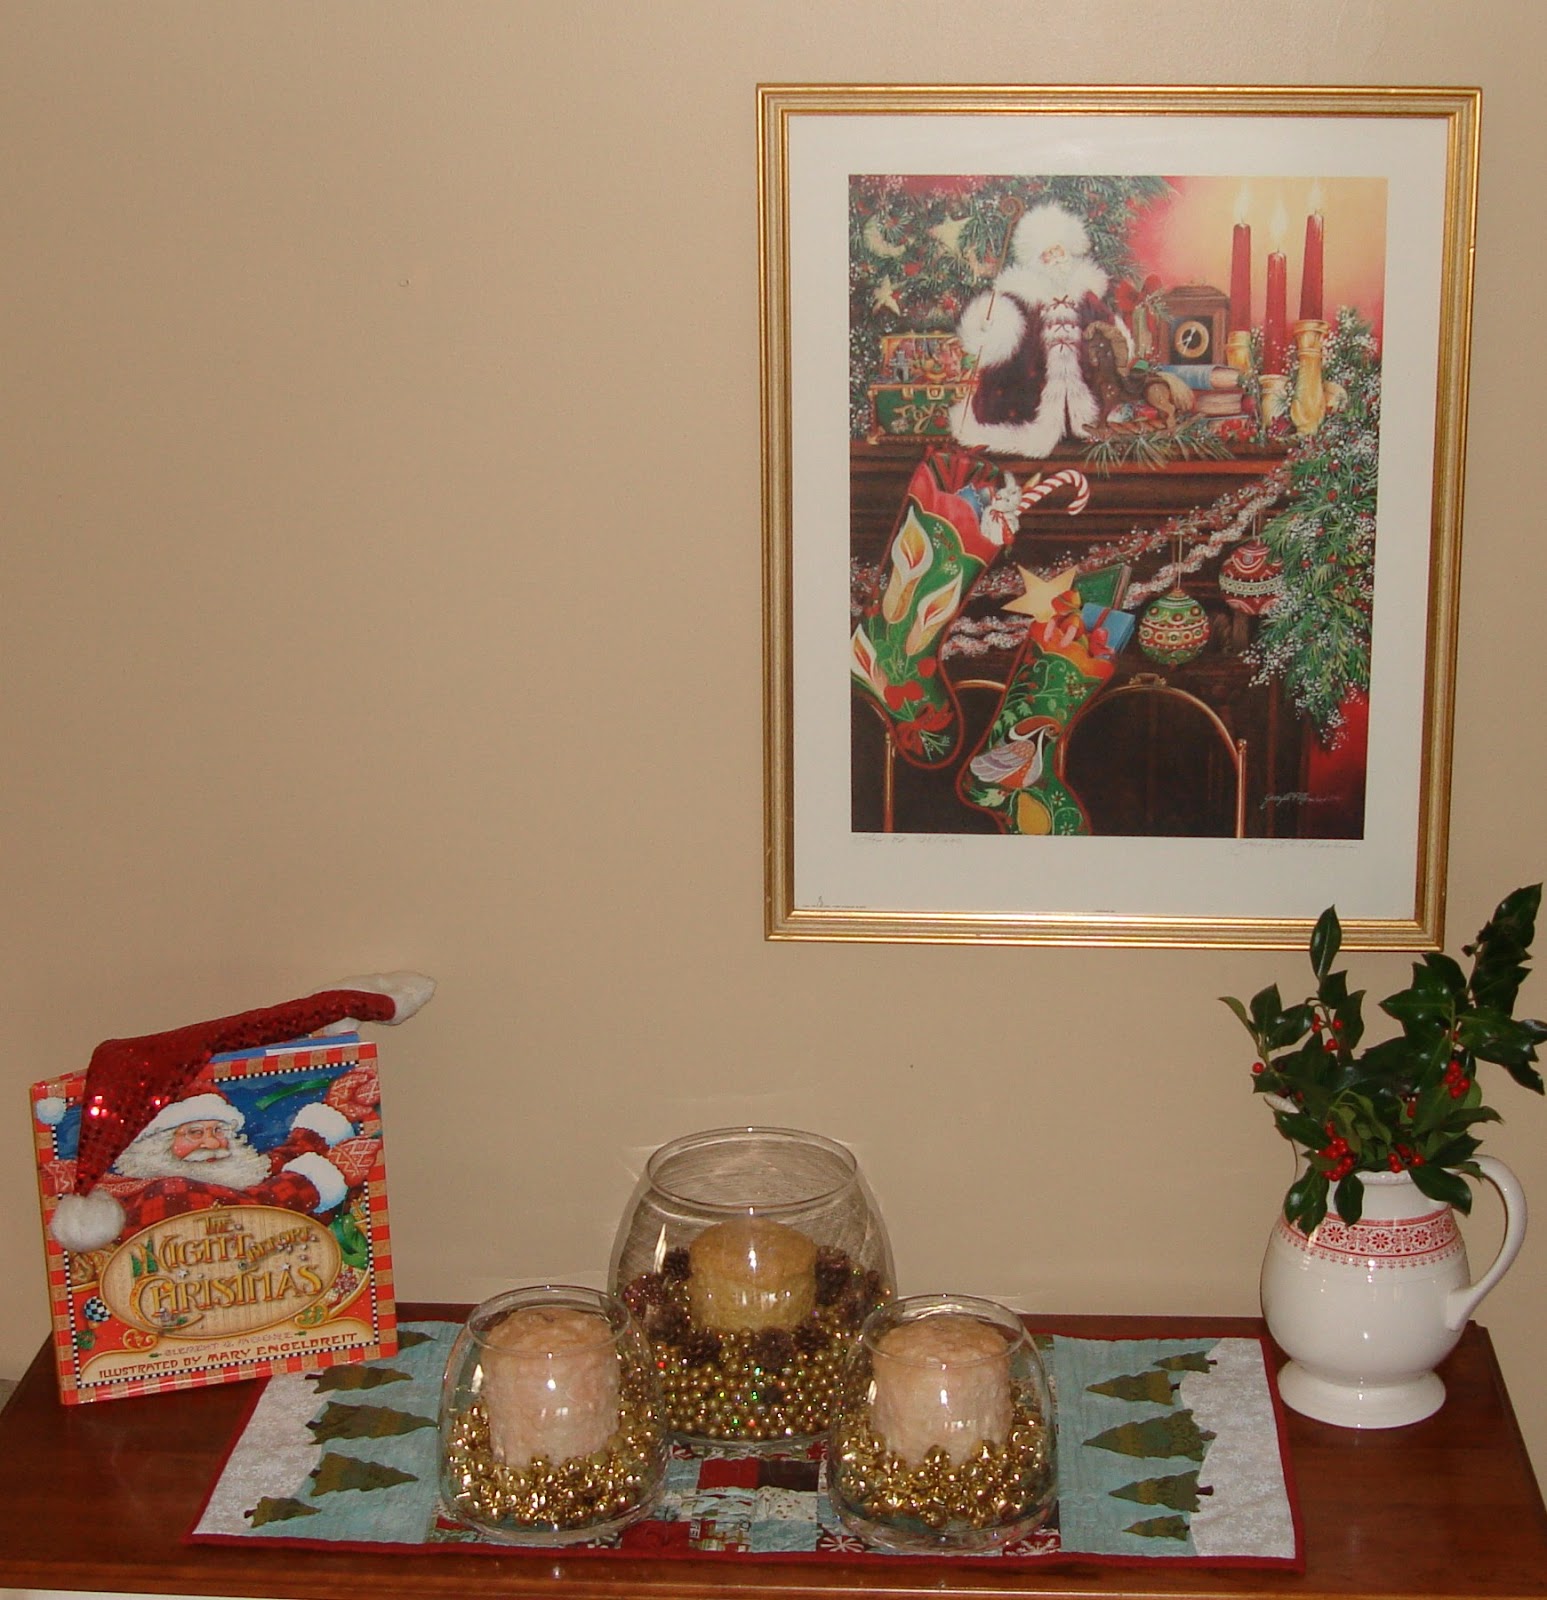
Using our Tree Farm pattern as the background, we filled candle holders with ornaments to decorate.
The Tree
Here's our Christmas Tree, filled with our favorite ornaments.

The quilt rack is hand made and hand painted by my dad, the colors are just perfect for this time of the year!
We'd love to hear, what are some of your favorite Holiday decorations? Did you go out on Black Friday or stay home?
From Our Home to Yours, Happy Holidays!
Megan
No comments:
Post a Comment